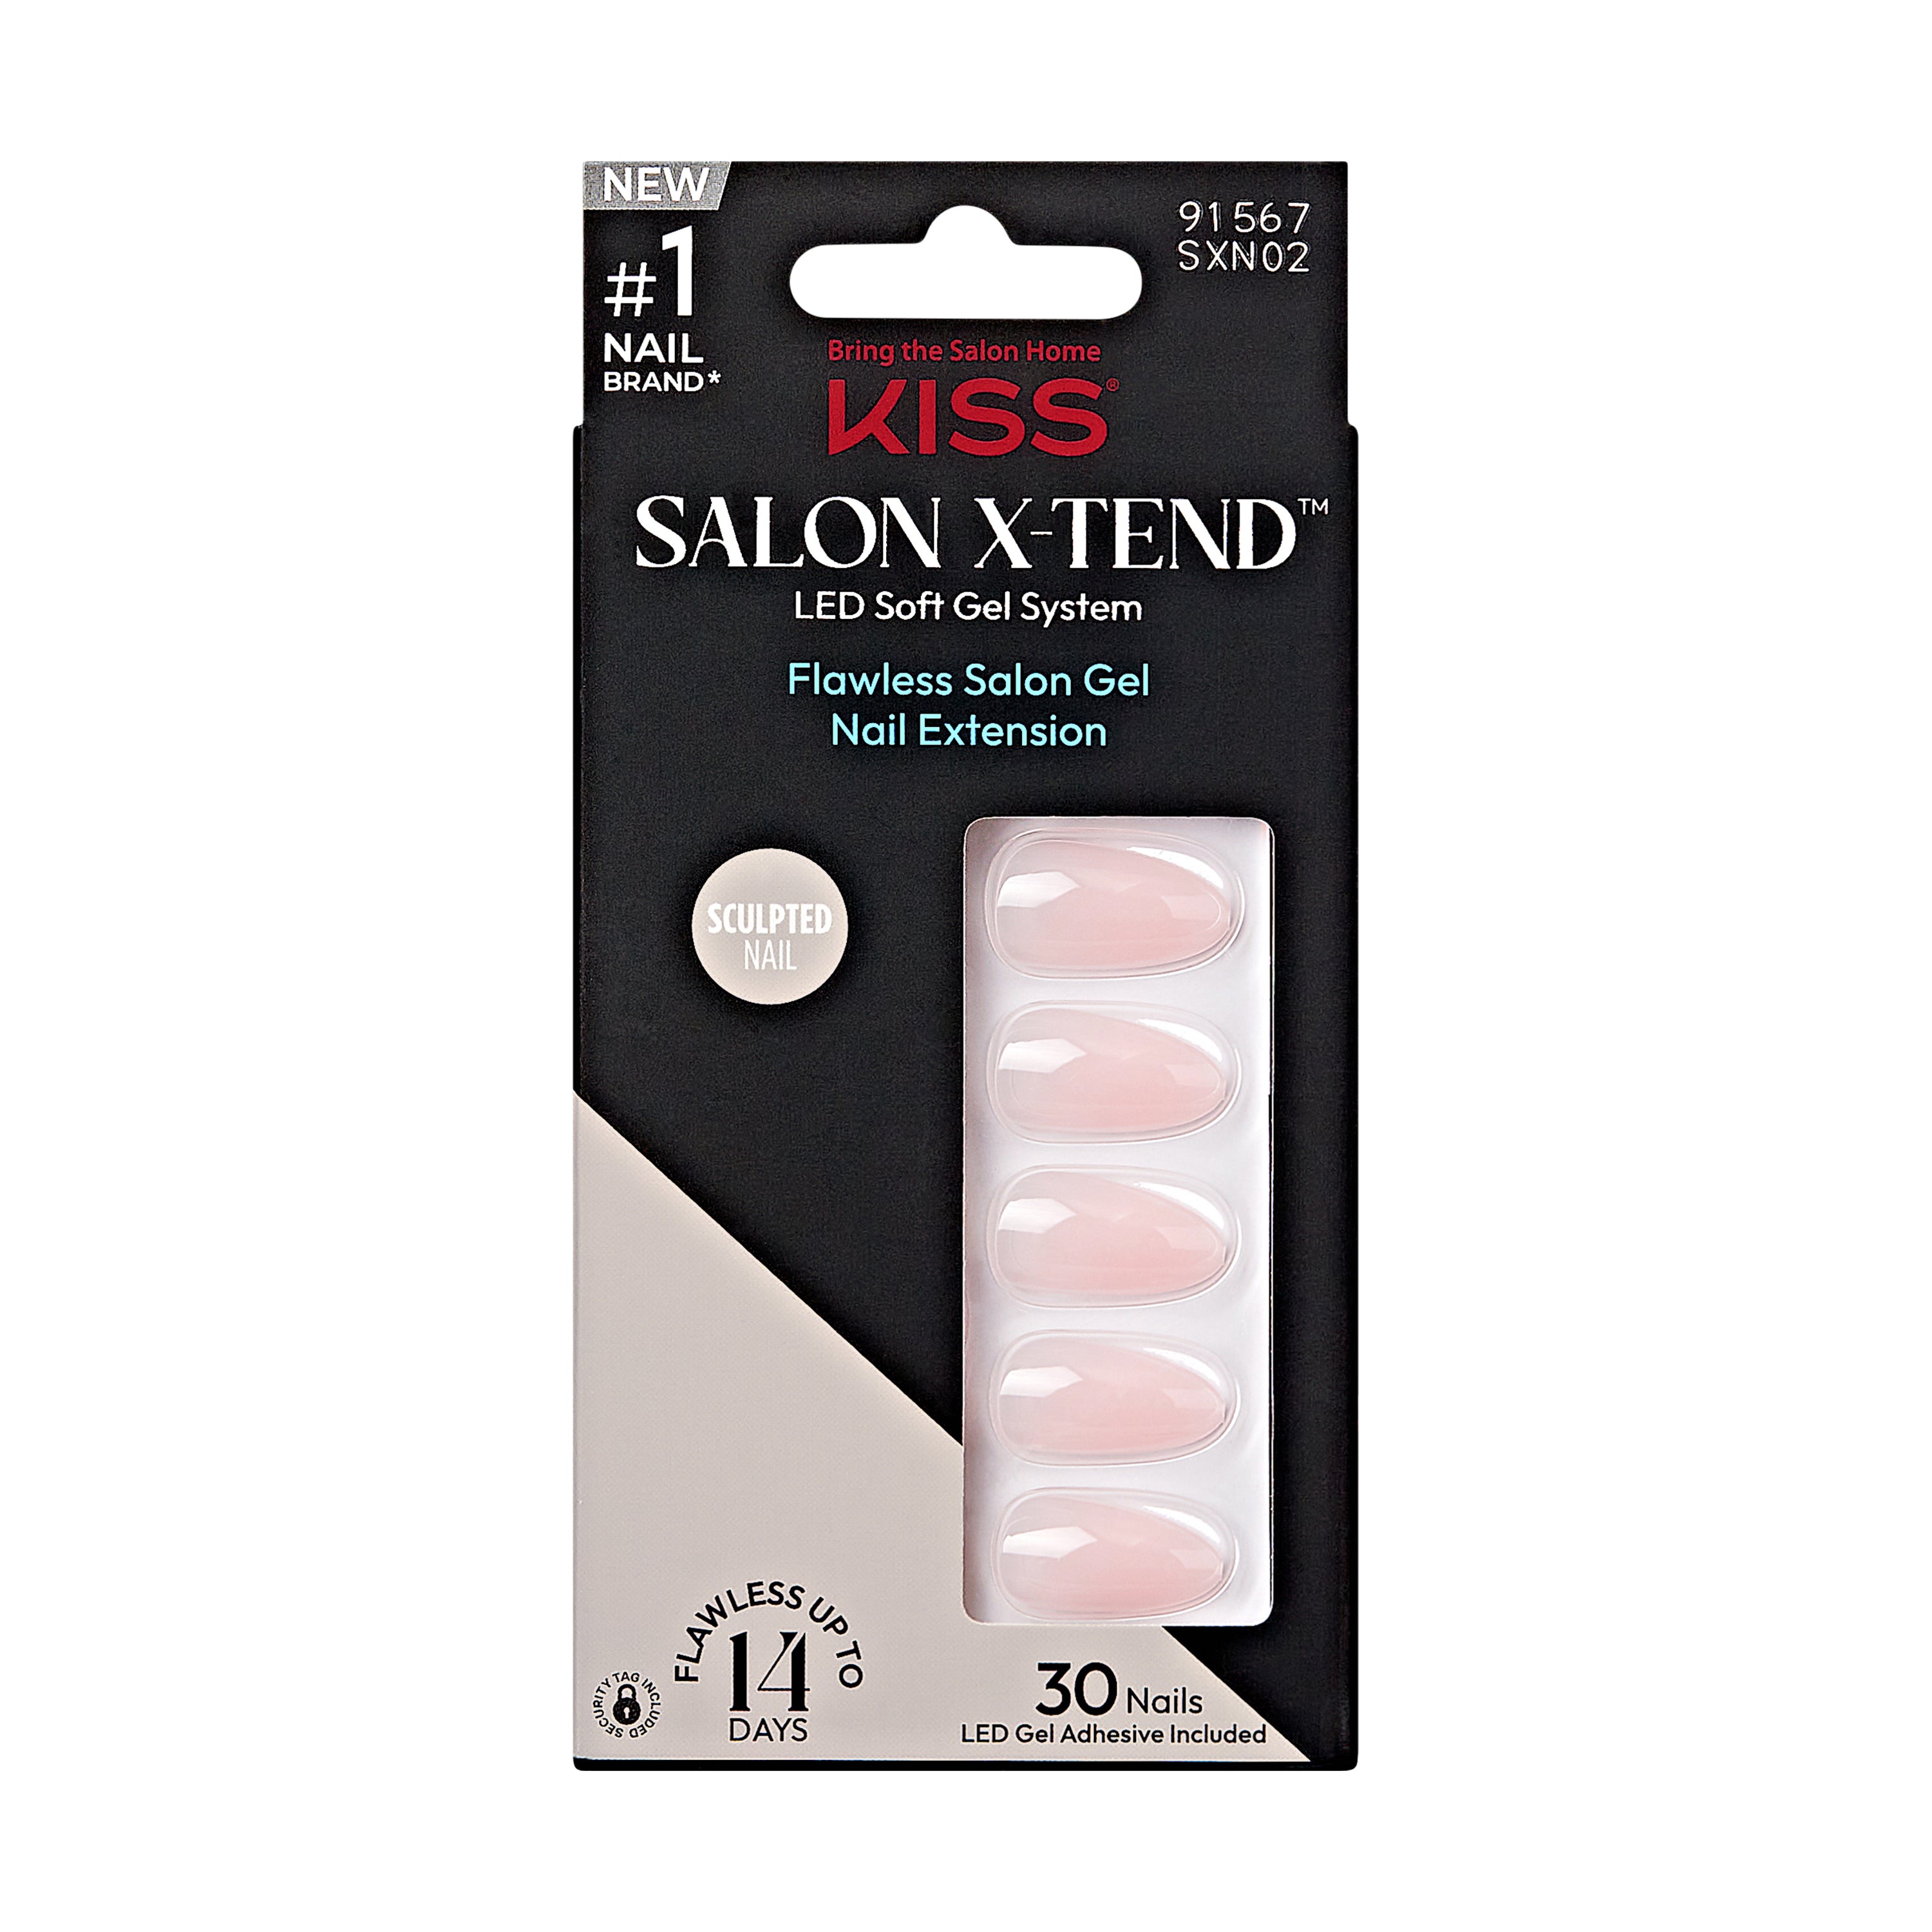
Salon X-Tend LED Nail Extensions - Gloria | SXN02
Description
Our new game changing at-home LED Soft Gel System offers numerous styles, lengths, & shapes with a salon sculpted look. Revolutionary soft gel adhesive cures quickly under our ergonomically designed LED lamp for a flexible, comfortable fit.
- Pre-sculpted solid pink nail tips are long length & coffin shaped
- Get a professional salon finish in minutes that lasts for up to 14 days
- Bend resistant, superior strength, and a natural, seamless look
- For best results, use only with Salon X-tend LED Lamp - sold separately in Starter Kits
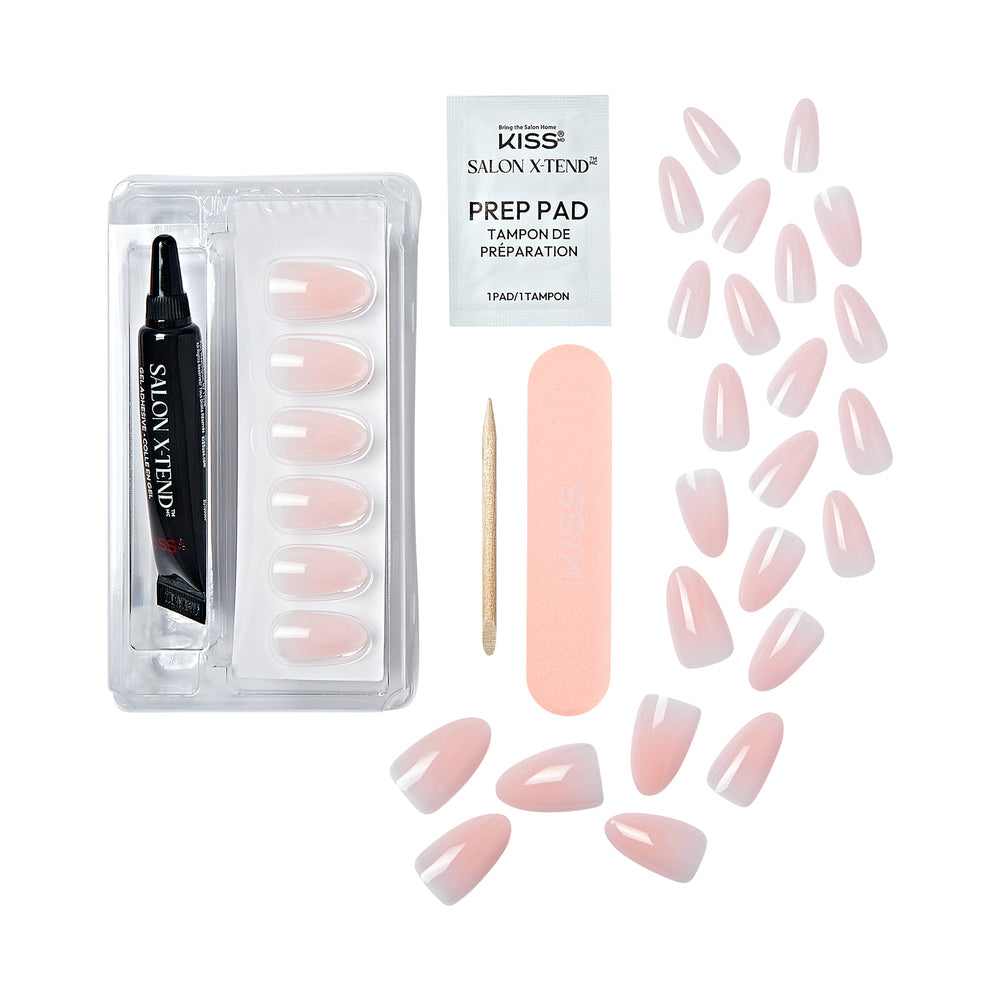
- Gel Nail Kit includes 30 Full Cover Nails, LED Soft Gel Adhesive 5 ml (0.16 US fl. oz.), Prep Pad, Manicure Stick, & Mini Nail File – LED Lamp sold separately & in Starter Kits
How To Apply
Apply a dot of Gel Adhesive to the circled target area of the pre-buffed underside of the artificial nail tip that will meet the natural nail.
Gently press the nail tip on the natural nail starting from the cuticle area to the free edge with constant, firm pressure, making sure to remove any air bubbles.
While gently pressing the nail tip with your other hand, place your fingernail on the LED Lamp motion sensor to flash cure for 5-7 seconds.
Finish cure for an additional 1-2 minutes to make sure sides and edges are fully cured.
Repeat steps 1-4 on all ten nails.
Ingredients
Bis-HEA PPG-6 Glyceryl Ether/SMDI Copolymer, HEMA, Isobornyl Acrylate, Trimethylbenzoyl Diphenylphosphine Oxide – Made in Korea;
Warnings and Disclaimers
Avoid inhalation, ingestion, or prolonged contact with skin. Avoid contact with eyes
IF IN EYES: Rinse cautiously with water for several minutes. Remove contact lenses if present and easy to do so.
IF ON SKIN: Wash with plenty of soap and water then gently peel apart. Seek medical attention
Read directions for use carefully
Keep out of reach of children
Discontinue use if irritation occurs
Do not use if nail or surrounding skin is damaged or inflamed
Frequently Asked Questions
What's so special about Salon X-tend?
These are professional quality salon gel nail extensions you can easily achieve at home. Unlike ordinary salon gel nail extensions, these nails come pre-polished (no polish needed) & ready to apply with everything you need to DIY. With the use of an LED curing lamp (included in the Starter Kits), like those used for gel and acrylic nails at salons, the nails last for up to 14 days and feel weightless, comfortable, and as natural as your own nails. And the LED lamp curing is motion activated, so it's hassle free to use.
Where do I find my nail sizes?
First, find the best nail fit for each finger, and set aside in order. If you are in between sizes, choose the smaller nail size. Nail sizes are indicated in a circle on the underside of each nail.
Does the Gel Adhesive contain Formaldehyde?
No, this is Formaldehyde Free!
How do I apply the nails?
Workspace:
Protect working surface with paper towels. Be sure to keep KISS Gel Adhesive tube away from LED lamp.
1. Remove any polish using acetone-based nail polish remover.
2. Push back cuticles with manicure stick. Trim and file the free edge of your nails.
3. Lightly buff the entire nail surface using the fine side of the nail file to remove oil. Pay close attention to the cuticle area and sidewalls. This is an important step to ensure adhesion between the natural nail and the Gel Adhesive.
4. Clean and dehydrate the nail surface with the included alcohol Prep Pad for maximum adhesion and strength. Let the alcohol fully dry.
5. Select proper sized nail tip for each individual finger. If needed, file sides of artificial tip for correct fit. Align the selected tips in sequence for each finger. (Tip: Nail tips are sized by numbers, noted underneath each nail tip. If your nail is in between sizes, choose the smaller size to ensure nail tips do not overlap cuticle or skin.)
Gel Adhesive Application:
(Tip: For best results, work on one hand at a time starting from the pinky nail.) 1. Apply a dot of Gel Adhesive to the circled target area of the re-buffed underside of the artificial nail tip that will meet the natural nail.
2. Gently press the nail tip on the natural nail starting from the cuticle area to the free edge with constant, firm pressure, making sure to remove any air bubbles. (Tip: If any bubbles are present or the gel is not filling to the free edge, remove the nail tip and apply more Gel Adhesive and reposition.)
3. While gently pressing the nail tip with your other hand, place your fingernail on the LED Lamp motion sensor to flash cure for 5-7 seconds. This will secure the position of the nail tip. Make sure the cuticle edge of the nail tip is securely adhered and cured to prevent nail lifting or hair catching. (Tip: Gel is not completely cured yet at this stage. Remove excessive gel around the skin and underneath the tip with a manicure stick before moving onto the full minute cure.)
4. Finish cure for an additional 1-2 minutes to make sure sides and edges are fully cured. (Tip: Clear and light color nail tips can be cured in 1 minute. 2 minute cure is recommended for darker color nails and designed nails. For French and ombré design nails, turn your finger upside down and cure for 1 additional minute to make sure the gel is cured thoroughly.)
5. Repeat steps 1-4 on all ten nails. Keep the Gel Adhesive container tightly closed after use. (Tip: If there is any excessive gel underneath the nail tip, wipe its tacky layer with a cotton swab soaked with alcohol.) Tip: Trim and file the artificial tip to desired length and shape with the rough side of the nail file.
Do I need a LED lamp to use this product?
Yes, Salon X-tend gel nail extensions do require the use of an LED lamp. The LED lamp is included in the Salon X-tend Starter Kits.
How do I set up the LED lamp?
- Please read the instructions carefully before using the LED Lamp.
- First, connect the USB cable to the LED Lamp. Next, connect the USB cable to the power source.
- While in use, DO NOT look directly at the lamp light.
- You may feel a heat sensitive sensation while curing under the lamp light. If that happens, pull your finger out for a few seconds, then place it back to fully cure.
- If you notice sudden changes in the skin, stop using the lamp and seek advice from a doctor immediately.
- Please keep the lamp away from liquids, such as water and alcohol, to prevent damage to the LED Lamp or electric shock. Do not use in bathrooms.
- Please disconnect the USB cable when the lamp is not in use to avoid unnecessary motion activation.
- Do not touch the light bulb inside the lamp, as it may be very hot immediately after curing.
- Keep out of reach of children.
How do I use the LED lamp?
1. Plug USB cable into the back of the LED Lamp and the power source.
2. Place one finger at a time on the LED lamp motion sensor to cure. The lamp automatically turns on when motion is detected and turns off when the finger is away. The lamp is preset for 1 minute and designed to start with low power for 5 seconds to minimise the heat-sensitive sensation. For a Flash cure, place your fingernail on the LED lamp motion sensor for 5 -7 seconds.
3. For a Finish cure, place your fingernail on the sensor and hold for 1 minute until the light turns off. If your nail tip does not feel secure, repeat this step.
4. After use, remove the USB cable from the lamp and the power source for storage
What is the recommended curing time using the LED lamp?
- Flash cure: 5-7 Seconds
- Finish cure: 1-2 Minutes
- PLEASE NOTE Finish cure timing
- Clear and light color nails: 1 minute
- Dark color nails: 2 minutes
- French & ombre design nails: 1 minute, then cure underside of nail for 1 minute
What is flash cure vs. final cure?
Flash cure holds the nails in place to check the positioning, and you can easily remove and re-apply nail(s) if needed, and you can wipe any nail gel residue from around the nails. Full and final cure holds the nails firmly in place until you remove them.
Are the nails rewearable?
Nails are designed for one time use.
What if a nail falls off?
Ideally, apply a new nail from the original nail kit you used, as directed. Make sure your natural nail is clean and prepped (buffed and wiped with alcohol, like you did for initial application, to ensure the adhesion) before reapplying a nail.


